

No products in the cart.


Galvanized Impact Automatic Bollard Ø220mm H500mm
1.208,79€ VAT included
Impact 220 automatic bollard, 220 mm diameter and 500 mm high. Includes two remote controls, optional mobile phone control, and an LED ring. Customizable color, oven-lacquered. Ideal for shops, jewelry stores, community parking lots, and parking lots. High quality and competitive price.
10+ units −5% · 25+ units −10%
Adding units of any pylon in the same order.
Adding units of any pylon in the same order.
Estimated delivery dates: 23/11/2026 - 23/11/2026
- 2 years warranty
- Manufactured in Barcelona
- Free shipping to the peninsula
Manufacturer and product safety
Manufacturer: Pilonatic Corp SL (CIF B72452758) · Ripollès 18, 08130 Santa Perpètua de Mogoda (Barcelona), Spain · [email protected] · +34 919 49 70 41
Reference / model: Galvanized Impact Automatic Bollard Ø220mm H500mm
Safety warnings:
- The installation must be done by a qualified person, following the instructions and on a firm support (concrete or other suitable material).
- Use the indicated anchoring (plugs or foundation) and check the tightness; incorrect anchoring can cause the product to fall or detach.
- Before drilling, check that there are no buried utilities (water, gas, electricity).
- Do not use it for purposes other than those intended (it is not a lifting or load securing device).
- Periodically check fasteners, welds and finish; replace damaged parts and do not use if deteriorated.
- Do not allow children to play on or climb on the product. For automatic or motorized products: do not enter while the element is in motion and disconnect the power supply before any maintenance.
The Impact 220 Automatic Bollard combines design, robustness, and advanced technology to offer an efficient and elegant access control solution. With a diameter of 220 mm and a height of 500 mm, it is ideal for protecting entrances to shops, jewelry stores, residential communities, industrial buildings, or private parking lots.
The Impact 220 model comes with two remote controls and offers the option of adding mobile phone control (advance notification required) , allowing for more versatile and convenient management for users. A matching fixed model is also available , perfect for completing the aesthetic of shop windows or high-traffic areas.
Manufactured with a 4 mm thick steel body and oven-baked lacquer finish, the Impact 220 bollard guarantees high resistance to weathering and corrosion. The 2 mm thick stainless steel protective housing (recessed housing) ensures a solid and professional installation. The finish can be customized in different colors with professional-grade lacquer, choosing from the available shades.
Its operational performance is excellent: an ascent time of approximately 8 seconds and a descent time of 7 seconds . The bollard comes standard with a red LED ring , with the option to customize it to blue upon request.
Thanks to its careful manufacturing, high level of customization and a very competitive price compared to other options on the market, the Impact 220 automatic bollard is the ideal solution for those looking for access control, security and aesthetics in the same product.
Installation guide
It works for almost all our automatic bollards. In the battery-powered versions, there's no need to run wiring to the control panel: skip the corrugated conduit and step 7.
What's included in the kit: lost drawer, bollard with mechanism, control panel and 20 m of hose.
Steps
- Hole: Drill a hole 370 mm in diameter and, as a recommended depth, 850 mm.
- Gravel: Pour a layer of gravel at the bottom.
- Lost drawer: Measure the height of your box (about 69 cm, depending on the model) and fill it with gravel until, when placed, it is flush with the asphalt.
- Before pouring concrete: Cover the side junction box tightly to prevent cement from getting in: this is where you'll make the wiring connections later. Leave the corrugated conduit, with its guide, in place from the box to the control panel.
- Concrete: Fill around the box with cement or concrete, flush with the ground.
- Drying: Let it dry for 24 to 48 hours.
- Cabling: Pass the hose through the tube. There are 4 wires: 2 for the LEDs and 2 for the motor. Connect the panel following the markings in the instructions.
- Convenient connection: Lower the bollard into the box, wedging it with two 50mm pieces of wood, one on each side, so that you can connect it to the box without effort.
⚠️ Always do it with the power off and the battery disconnected: risk of crushing. - Closing: Gather the cables, remove the wood, lower the bollard, align the threads, and screw on the top cover.
- Proof: Try raising and lowering the bollard several times. You can raise and lower it using the remotes and the app, but not via WhatsApp. If your model allows it, sync the remotes and install the app following the manual.
Any questions? +34 919 49 70 41 · WhatsApp 632 429 144
Related products
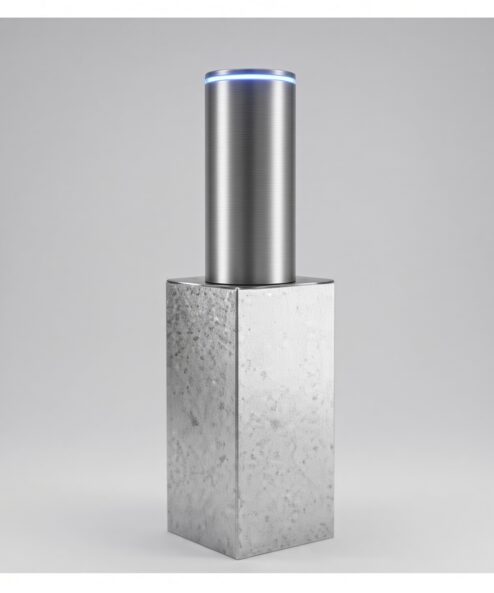
2.611,77€ VAT included
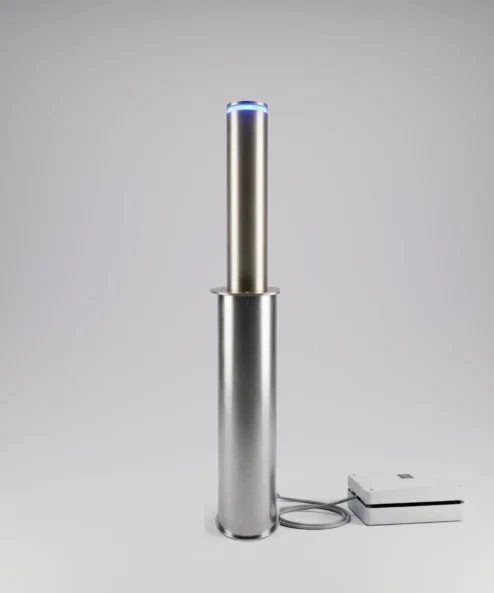
949,00€ VAT included
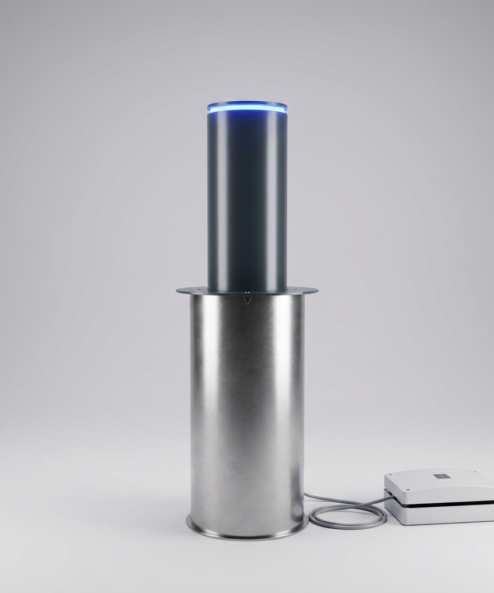
1.208,79€ VAT included
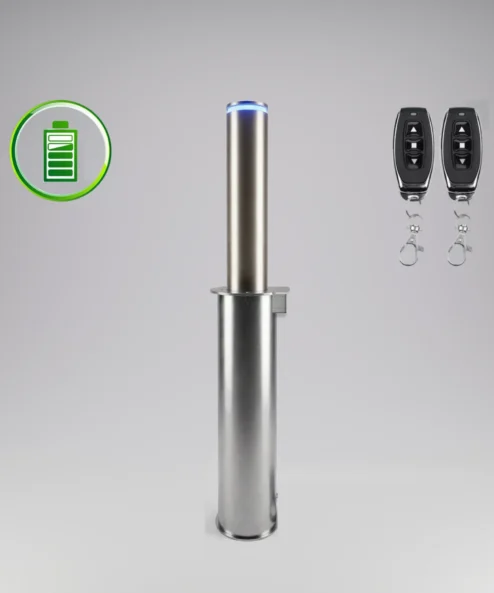
999,00€ VAT included